A friendly tutorial for making (really) simple web pages
HTML defines the content of every web page on the Internet. By “marking up” your raw content with HTML tags, you’re able to tell web browsers how you want different parts of your content to be displayed. Creating an HTML document with properly marked up content is the first step of developing a web page.
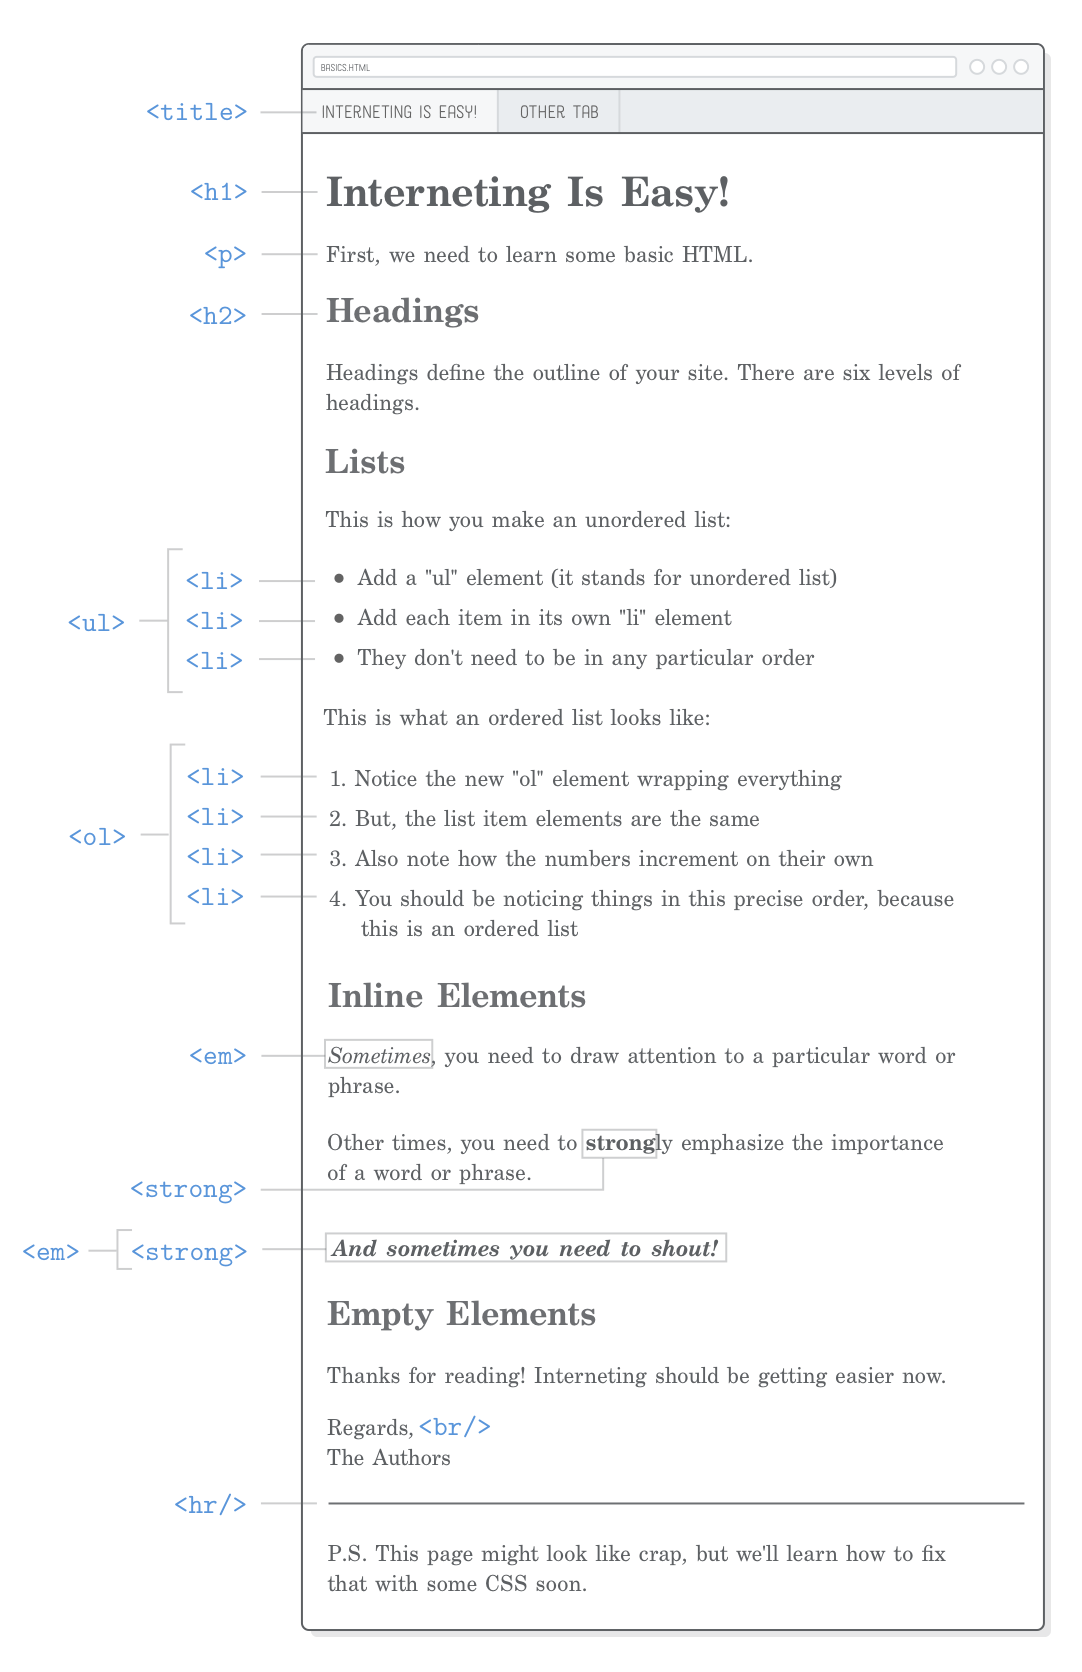
In this chapter, we’ll build our first web page. It’ll look like crap because it won’t have any CSS attached to it, but it will serve as a thorough introduction to the HTML elements that web developers work with on a daily basis.
As you work your way through the examples, try to approach them as a more hands-on version of a WYSIWYG editor like Google Docs or Microsoft Word. We’ll be working with all the same types of content (headings, paragraphs, lists, etc), we’ll just be defining them a little bit more explicitly with HTML.
Setup
Let’s get started by creating a new project with Atom called basic-web-pages. Then, make a new file called basics.html in that folder. This HTML file represents a single web page, and it’s where we’ll put all our code for this chapter. If you’re not already set up with Atom, be sure to read the Introduction for this tutorial series.
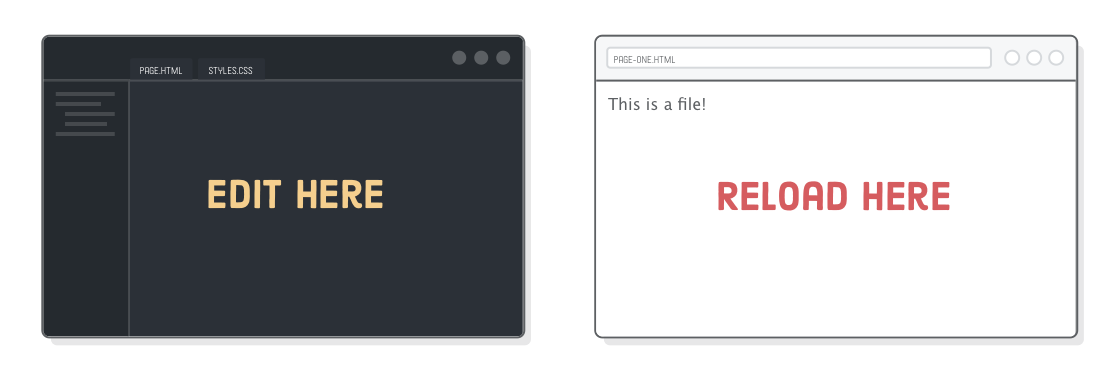
Remember that the basic workflow for web developers is to edit HTML in their text editor and view those changes in a web browser, so this is exactly what you should be doing for each section of this chapter.
Structure of a Web Page
Add the following HTML markup to our basics.html file. This is what you’ll start with for every single web page you’ll ever produce. Typically, you would use a templating engine of some sort to avoid re-typing the redundant parts, but for this tutorial, we’ll be focusing on the raw HTML.
<!DOCTYPE html><html><head><!-- Metadata goes here --></head><body><!-- Content goes here --></body></html>
First, we need to tell browsers that this is an HTML5 web page with the <!DOCTYPE html> line. This is just a special string that browsers look for when they try to display our web page, and it always needs to look exactly like it does above.
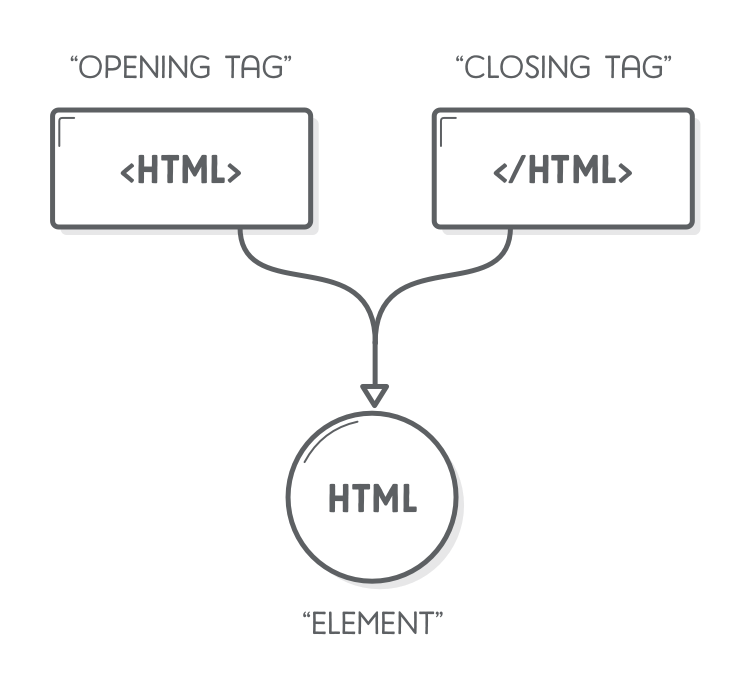
Then, our entire web page needs to be wrapped in <html> tags. The actual <html> text is called an “opening tag”, while </html> is called a “closing tag”. Everything inside of these tags are considered part of the <html> “element”, which is this ethereal thing that gets created when a web browser parses your HTML tags.
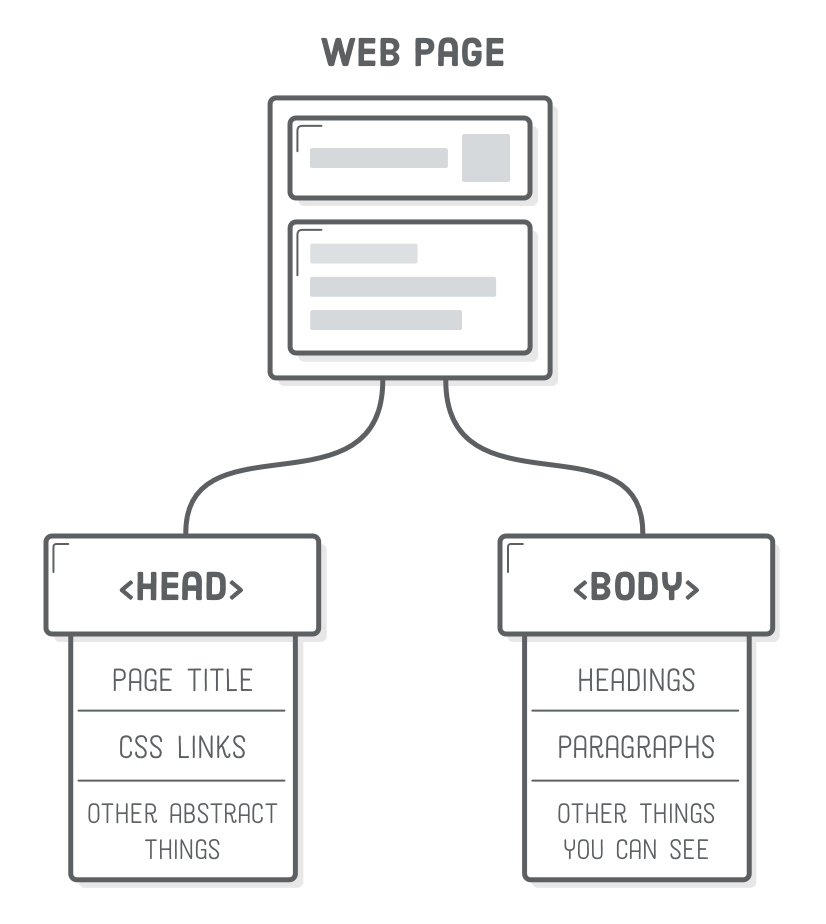
Inside of the <html> element, we have two more elements called <head> and <body>. A web page’s head contains all of its metadata, like the page title, any CSS stylesheets, and other things that are required to render the page but you don’t necessarily want the user to see. The bulk of our HTML markup will live in the <body> element, which represents the visible content of the page. Note that opening up our page in a web browser won’t display anything, since it has an empty <body>.
The purpose of this <head>/<body> split will become clearer in a few chapters after we start working with CSS.
Also notice the HTML comment syntax in the above snippet. Anything that starts with <!-- and ends with --> will be completely ignored by the browser. This is useful for documenting your code and making notes to yourself.
Page Titles
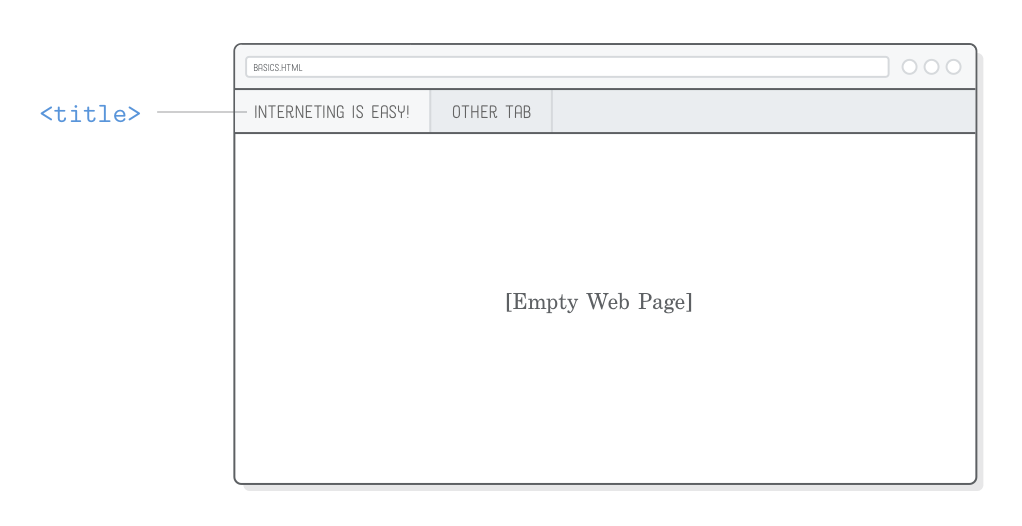
One of the most important pieces of metadata is the title of your web page, defined by the aptly named <title> element. Browsers display this in the tab for your page, and Google displays it in search engine results.
Try updating our basic.html file’s <head> to match the following:
<!DOCTYPE html><html><head><title>Interneting Is Easy!</title></head><body><!-- Content goes here --></body></html>
When you reload the page in your browser, you should still see an empty page, but you’ll also see Interneting Is Easy! in the browser tab:
Notice how all the HTML tags in our web page are neatly nested. It’s very important to ensure that there are no overlapping elements. For instance, the <title> element is supposed to be inside of the <head>, so you’d never want to add the closing </head> tag before the closing </title> tag:
<!-- (Don't ever do this) --><head><title>Interneting Is Easy!</head></title>
Paragraphs
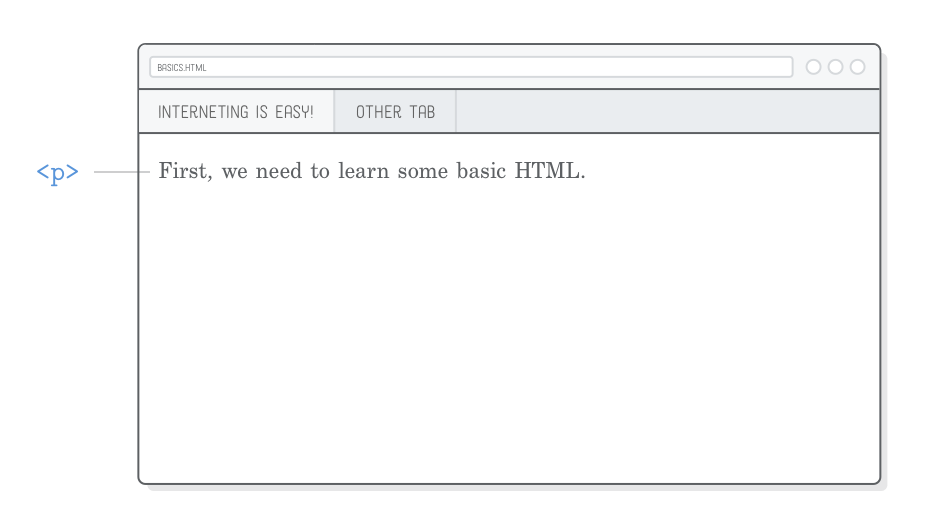
Titles are all well and good, but let’s do something we can actually see. The <p> element marks all the text inside it as a distinct paragraph. Try adding the following <p> element to the body of our web page:
<!DOCTYPE html><html><head><title>Interneting Is Easy!</title></head><body><p>First, we need to learn some basic HTML.</p></body></html>
You should now be able to see some content on the page. Again, since this is content we want to display, it needs to go in the <body> element, not <head>.
Also note how the <p> and <title> elements are indented twice, while <body> and <head> are indented once. Indenting nested elements like this is an important best practice that makes your HTML easier to read for other developers (or for yourself if you come back 5 months from now and want to change some stuff).
It’s up to you and your development team to decide if you want to use spaces or tab characters for indents. You can set this preference in your text editor under Atom > Preferences > Editor and scrolling down to the Tab Type setting.
Headings
Headings are like titles, but they’re actually displayed on the page. HTML provides six levels of headings, and the corresponding elements are: <h1>, <h2>, <h3>, … , <h6>. The higher the number, the less prominent the heading.
The first heading on a page should typically be an <h1>, so let’s insert one above our existing <p> element. It’s very common for the first <h1> element to match the <title> of the document, as it does here:
<body><h1>Interneting Is Easy!</h1><p>First, we need to learn some basic HTML.</p></body>
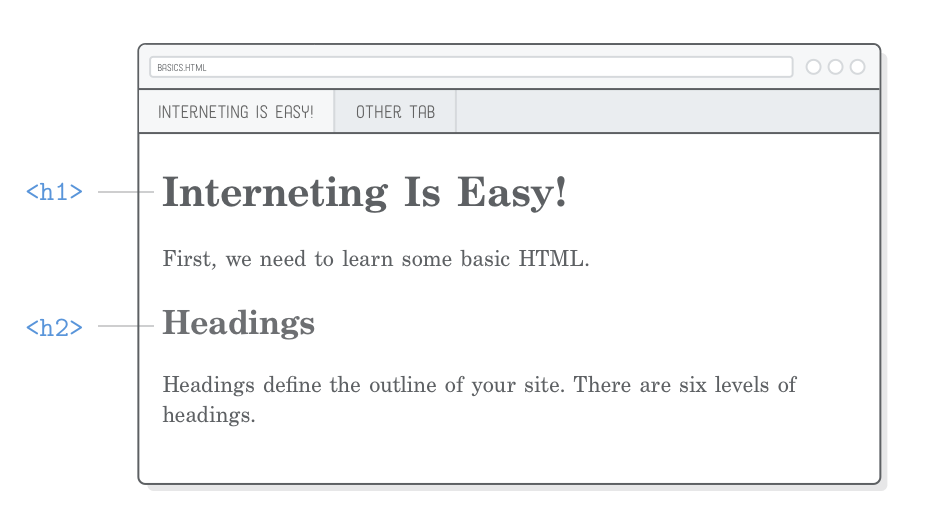
By default, browsers render less important headings in smaller fonts. For example, let’s include a second-level heading and see what happens:
<!DOCTYPE html><html><head><title>Interneting Is Easy!</title></head><body><h1>Interneting Is Easy!</h1><p>First, we need to learn some basic HTML.</p><h2>Headings</h2><p>Headings define the outline of your site. There are six levels of
headings.</p></body></html>
This should result in a web page that looks something like this:
Headings are the primary way you mark up different sections of your content. They define the outline of your web page as both humans and search engines see it, which makes selecting relevant headings essential for a high-quality web page.
Unordered Lists
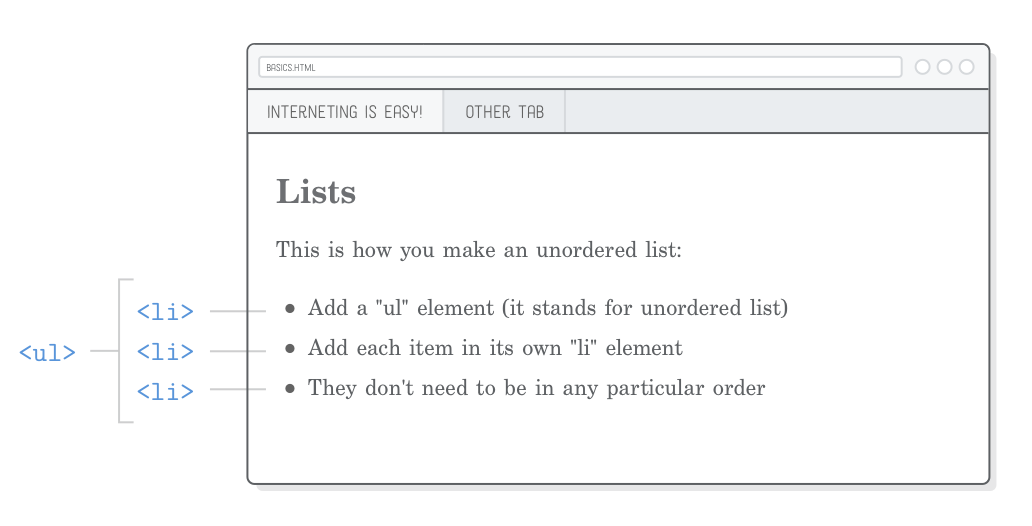
Whenever you surround a piece of text with HTML tags, you’re adding new meaning to that text. Wrapping content in <ul> tags tells a browser that whatever is inside should be rendered as an “unordered list”. To denote individual items in that list, you wrap them in <li> tags, like so:
<h2>Lists</h2><p>This is how you make an unordered list:</p><ul><li>Add a "ul" element (it stands for unordered list)</li><li>Add each item in its own "li" element</li><li>They don't need to be in any particular order</li></ul>
After adding this markup to the <body> element (underneath the existing content), you should see a bulleted list with a dedicated bullet for each <li> element:
The HTML specification defines strict rules about what elements can go inside other elements. In this case, <ul> elements should only contain <li> elements, which means you should never ever write something like this:
<!-- (This is bad!) --><ul><p>Add a "ul" element (it stands for unordered list)</p></ul>
Instead, you should wrap that paragraph with <li> tags:
<!-- (Do this instead) --><ul><li><p>Add a "ul" element (it stands for unordered list)</p></li></ul>
How do we know that <ul> only accepts <li> elements and that <li> allows nested paragraphs? Because the Mozilla Developer Network (MDN) says so. MDN is a superb HTML element reference. We’ll try to cover as much as we can about how to use basic HTML elements in this tutorial, but whenever you’re not sure about a particular element, do a quick Google search for “MDN <some-element>”.
Ordered Lists
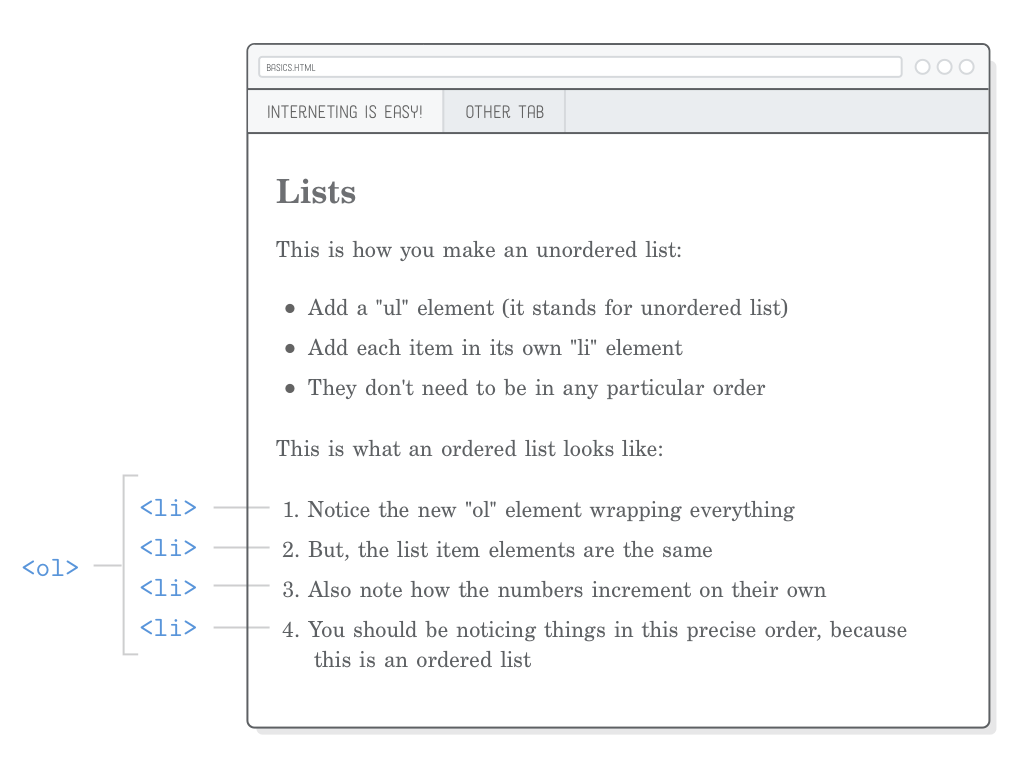
With an unordered list, rearranging the <li> elements shouldn’t change the meaning of the list. If the sequence of list items does matter, you should use an “ordered list” instead. To create an ordered list, simply change the parent <ul> element to <ol>. Append the following content to the Lists section of basics.html:
<p>This is what an ordered list looks like:</p><ol><li>Notice the new "ol" element wrapping everything</li><li>But, the list item elements are the same</li><li>Also note how the numbers increment on their own</li><li>You should be noticing things is this precise order, because this is
an ordered list</li></ol>
When you reload the page in your browser, you’ll notice that the browser automatically incremented the count for each <li> element. In Hello, CSS, we’ll learn how to change what type of numbers get displayed.
The difference between an unordered list and an ordered list might seem silly, but it really does have significance to web browsers, search engines, and, of course, human readers. It’s also easier than manually numbering each list item.
Step-by-step procedures like recipes, instructions, and even tables of contents are good candidates for ordered lists, while <ul> lists are better for representing item inventories, product features, pro/con comparisons, and navigational menus.
Emphasis (Italic) Elements
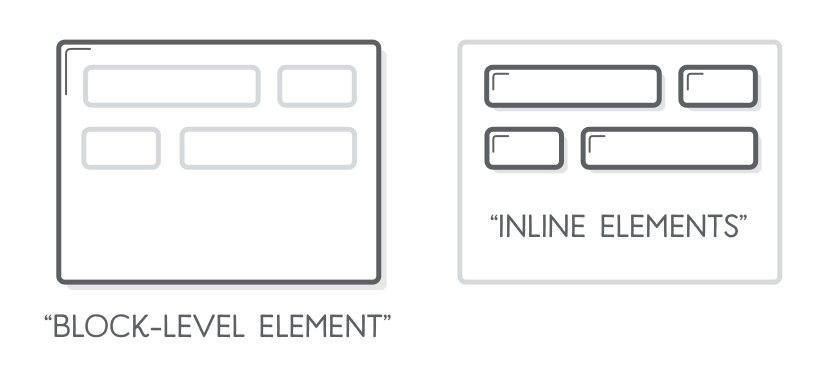
So far, we’ve only been working with “block-level elements” (also called “flow content”). The other major type of content is “inline elements” or “phrasing content”, which are treated a little bit differently. Block-level elements are always drawn on a new line, while inline elements can affect sections of text anywhere within a line.
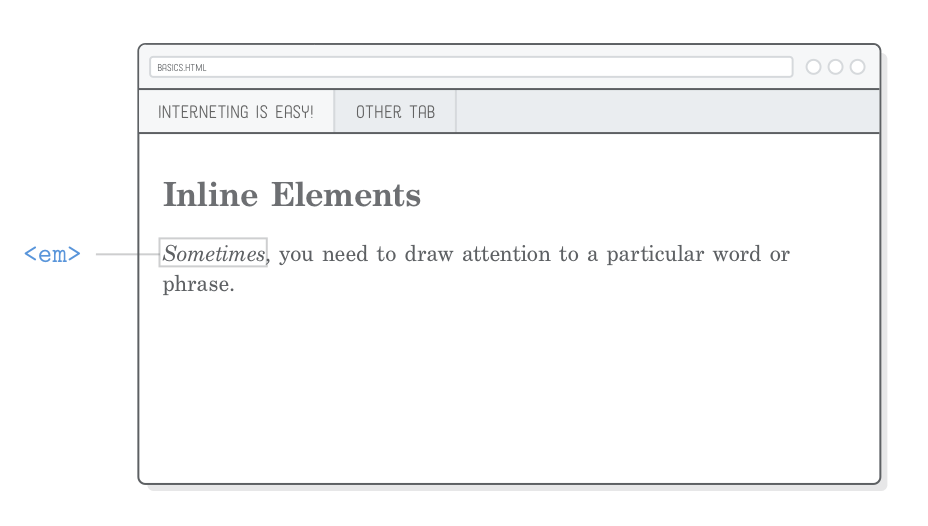
For instance, <p> is a block-level element, while <em> is an inline element that affects a span of text inside of a paragraph. It stands for “emphasis”, and it’s typically displayed as italicized text. Try adding a new section demonstrating emphasized text to our example web page:
<h2>Inline Elements</h2><p><em>Sometimes</em>, you need to draw attention to a particular word or
phrase.</p>
The part wrapped in <em> tags should render as italics, as shown below. Notice how only part of a line has been affected, which is characteristic of inline elements. In the CSS Box Model chapter, we’ll discover how inline and block elements can have a dramatic impact on the layout of a page.
Just in case it hasn’t sunk in yet, it’s really important that you properly nest your HTML elements. It’s easier to mess up the order of tags when you’re using multiple inline elements, so make sure to double-check that your markup never looks like this:
<!-- (Again, don't ever do this) --><p>This is some <em>emphasized text</p></em>
Strong (Bold) Elements
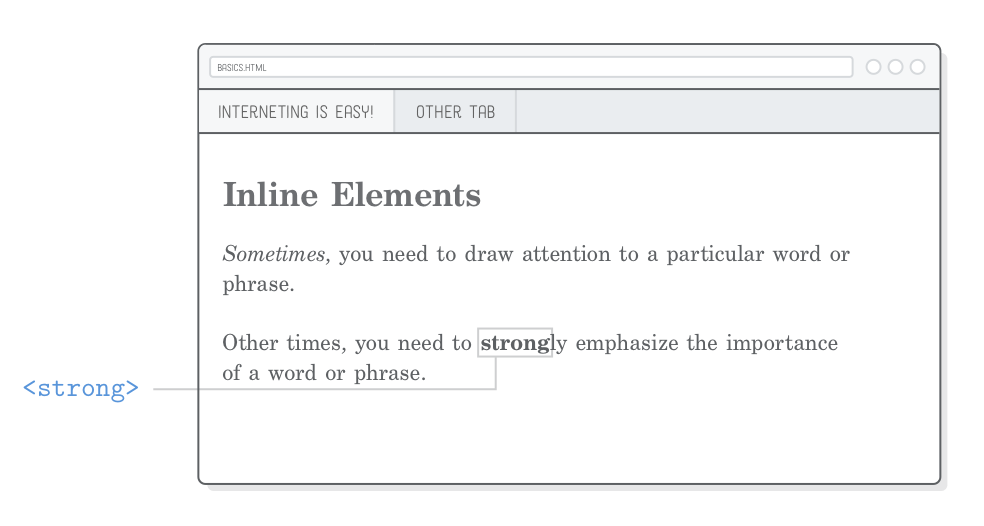
If you want to be more emphatic than an <em> tag, you can use <strong>. It’s an inline element just like <em>, and looks like this:
<p>Other times you need to <strong>strong</strong>ly emphasize the importance
of a word or phrase.</p>
It should be rendered in bold text, like so:
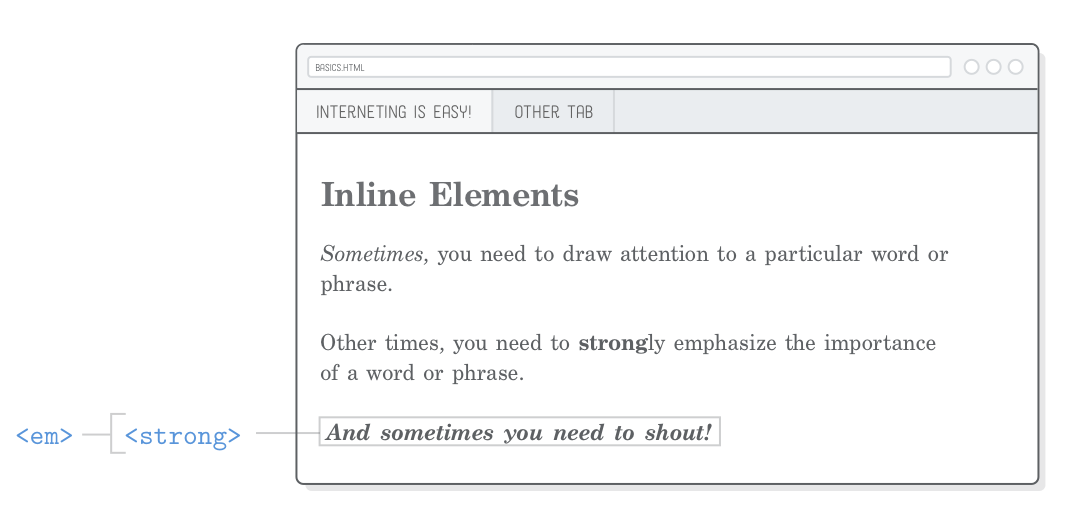
To draw even more attention your a span of text, you can nest a <strong> element in an <em> element (or vice versa). This will give you text that is both strong and emphasized:
<p><em><strong>And sometimes you need to shout!</strong></em></p>
As the example text suggests, this is effectively the typographic equivalent of shouting. Have a read through the Web Typography chapter before going too crazy with the bold and italic fonts.
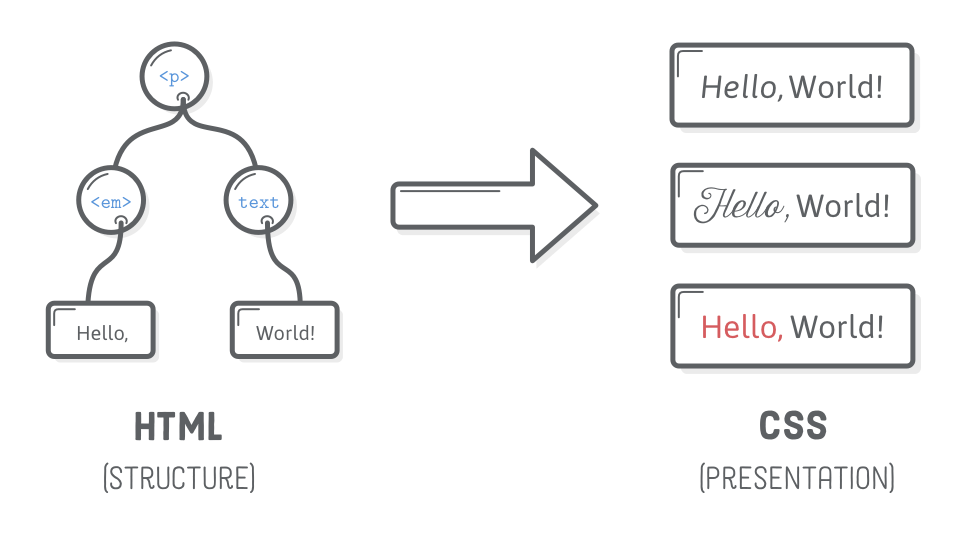
Structure Versus Presentation
You might be wondering why we’re using the terms “emphasis” and “strong” instead of “italic” and “bold”. That brings us to an important distinction between HTML and CSS. HTML markup should provide semantic information about your content—not presentational information. In other words, HTML should define the structure of your document, leaving its appearance to CSS.
The pseudo-obsolete <b> and <i> elements are classic examples of this. They used to stand for “bold” and “italic”, respectively, but HTML5 attempted to create a clear separation between a document’s structure and its presentation. Thus, <i> was replaced with <em>, since emphasized text can be displayed in all sorts of ways aside from being italicized (e.g., in a different font, a different color, or a bigger size). Same for <b> and <strong>.
As we’ll discover in Hello, CSS, we can alter the browser’s default rendering of the <strong> and <em> elements. This furthers the point that we shouldn’t call it out as italicized or bold text in the HTML—that’s something for CSS to decide.
Empty HTML Elements
The HTML tags we’ve encountered so far either wrap text content (e.g., <p>) or other HTML elements (e.g., <ol>). That’s not the case for all HTML elements. Some of them can be “empty“ or “self-closing”. Line breaks and horizontal rules are the most common empty elements you’ll find.
Line Breaks
HTML condenses consecutive spaces, tabs, or newlines (together known as “whitespace”) into a single space. To see what we’re talking about, add the following section to our basics.html file:
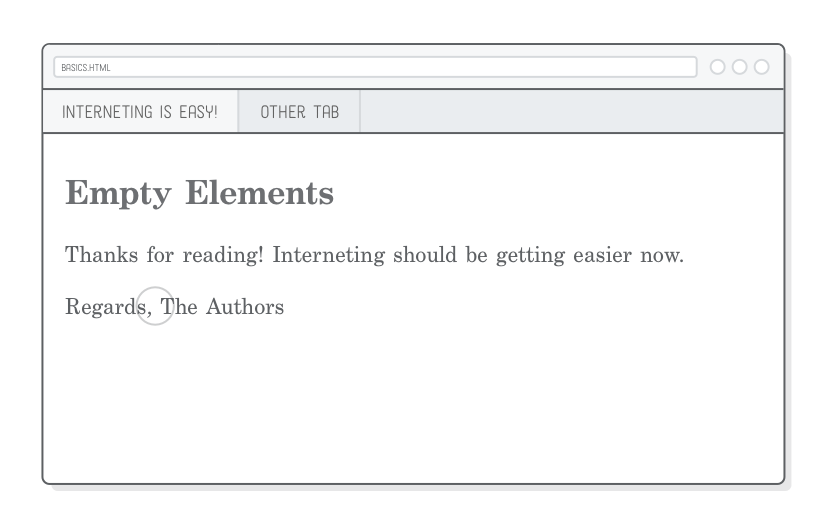
<h2>Empty Elements</h2><p>Thanks for reading! Interneting should be getting easier now.</p><p>Regards,
The Authors</p>
The newline after Regards in the above snippet will be transformed into a space instead of displaying as a line break:
This behavior may seem counter intuitive, but web developers often set their text editor to limit line length to around 80 characters. As a programmer, it’s easier to manage code this way, but having each of the newlines show up in the rendered page would severely mess up the intended page layout.
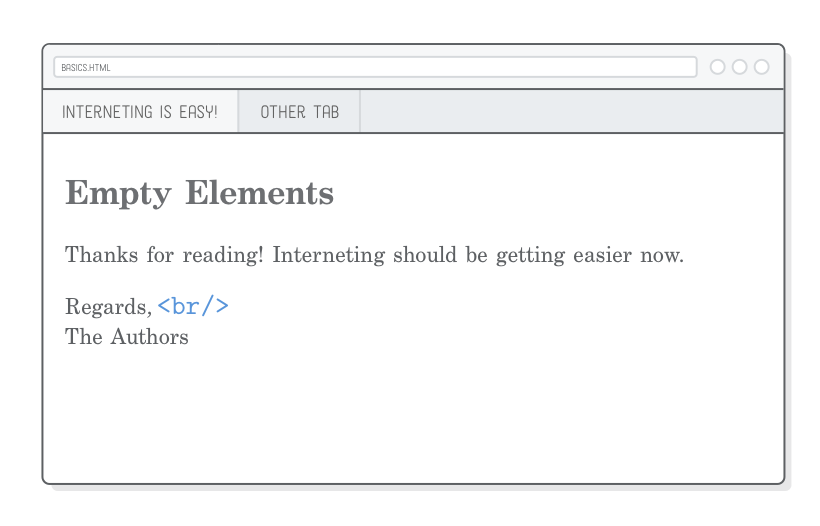
To tell the browser that we want a hard line break, we need to use an explicit <br/> element, like this:
<p>Regards,<br/>
The Authors</p>
The <br/> element is useful anywhere text formatting matters. Haiku, music lyrics, and signatures are just a few examples where it might come in handy.
However, be very careful not to abuse the <br/> tag. Each one you use should still convey meaning—you shouldn’t use it to, say, add a bunch of space between paragraphs:
<!-- (You will be shunned for this) --><p>This paragraph needs some space below it...</p><br/><br/><br/><br/><br/><br/><br/><br/><p>So, I added some hard line breaks.</p>
As discussed in the previous section, this kind of presentational information should be defined in your CSS instead of your HTML.
Horizontal Rules
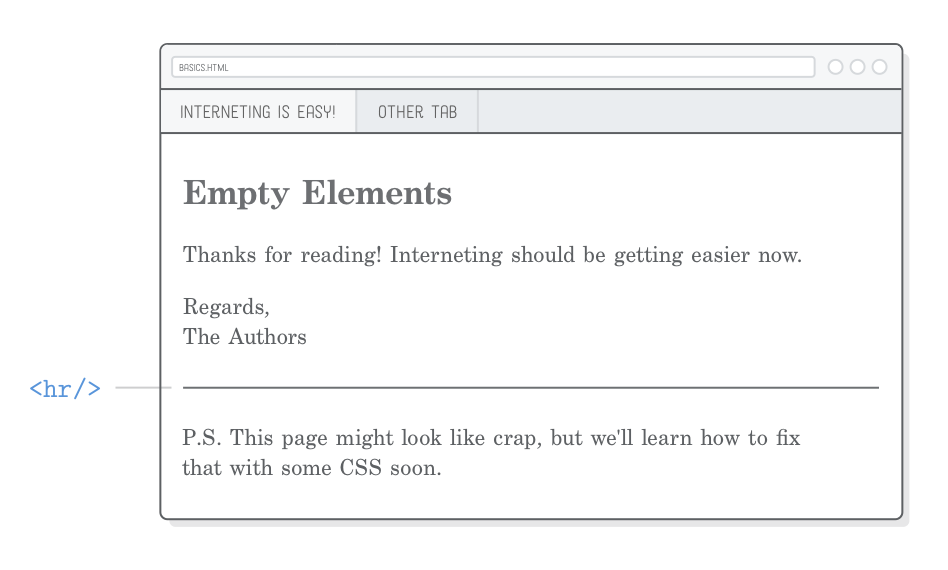
The <hr/> element is a “horizontal rule”, which represents a thematic break. The transition from one scene of a story into the next or between the end of a letter and a postscript are good examples of when a horizontal rule may be appropriate. For instance:
<h2>Empty Elements</h2><p>Thanks for reading! Interneting should be getting easier now.</p><p>Regards,<br/>
The Authors</p><hr/><p>P.S. This page might look like crap, but we'll fix that with some CSS
soon.</p>
One of the themes for this chapter has been the separation of content (HTML) from presentation (CSS), and <hr/> is no different. Like <em> and <strong>, it has a default appearance (a horizontal line), but once we start working with CSS, we’ll be able to render it as more space between sections, a decorative accent character, or pretty much anything else we want.
Like <br/>, <hr/> should carry meaning—don’t use it when you just want to display a line for the sake of aesthetics. For that, you’ll want to use the CSS border property, which we’ll discuss in a few chapters.
Another way to think about the <hr/> element is that it carries less significance than the separation created by a new heading element, but more significance than a new paragraph.
Optional Trailing Slash
The trailing slash (/) in all empty HTML elements is entirely optional. The above snippet could also be marked up like this (note the lack of / in the <br> and <hr> tags):
<p>Regards,<br>
The Authors</p><hr>
It doesn’t really make a difference which convention you choose, but pick one and stick to it for the sake of consistency. In this tutorial, we’ll be including the trailing / character because it clearly shows that it’s a self-closing element. This will help prevent your eyes from searching for the closing tag elsewhere in the document.
Summary
This chapter may have seemed like an endless list of HTML elements, and, well, it basically was. HTML is pretty simple when it comes right down to it. Web pages are made up of HTML elements, each element adds a different meaning to the text it contains, and elements can be nested inside of each other.
What we did in this chapter is always the first step in the web development process—you need to define what you want to say (HTML) before defining how you want to say it (CSS). Hopefully, the basics.html file we created in this chapter will serve as a useful quick-reference of core HTML elements. If you ever happen to misplace it, here’s what it should look like:
We talked about how writing HTML is sort of like manipulating content in a WYSIWYG document editor. HTML is obviously a much more manual process, but the trade off is its incredible flexibility. You can display it in a web page, a mobile device, a tablet, or a printed piece of paper, each with different layouts. You can even re-style multiple documents just by changing a single line of CSS. Microsoft Word doesn’t come close to the potential of HTML and CSS as a content medium.
In the next chapter, we’ll round out our HTML education with the remaining elements that you’ll encounter on a daily basis: links and images. For the more obscure elements, we’ll leave you to explore MDN’s HTML Element Reference on your own.